Sunday, 22 December 2013

Day 10: Vintage Stocking


Christmas morning would not be the same without opening a stocking full of little treats and goodies. Why not make your stocking extra special this year by adding that vintage touch. Using similar materials to the mitten decoration, just gather a few embellishments and a vintage image and you are ready to make your stocking.

The design doesn't need to be complicated so keep it simple and stress free - only 3 more sleeps.....


Saturday, 21 December 2013

Day 9: Mitten Decorations


Materials:
Cream coloured felt
Mitten Template
Ribbon
Lace
Buttons
Mod Podge glue
Glitter
Rusty wire

These adorable felt mitten decorations look fantastic on the tree, with the glitter glistening under the Christmas tree lights, they will definitely be that added touch of vintage.

Either find  a template on the web or create your own and you can even personalise your mittens with your own choice of ribbons and buttons and it doesn't have to end with just using felt, why not try using different fabrics and materials, even paper to create a truly mixed media decoration.

Friday, 20 December 2013

Day 8: Christmas Wrapped Up


For us crafters, Christmas is sometimes more about what the present looks like on the outside rather than what the present actually is. So why not get creative this year with your wrapping and make the whole experience of gift giving a much more rewarding chore.

Personalise your wrapping


Putting names on tags can get a bit tiresome and I'm sure everyone has been in those situations where you have a whole bag of gifts to give out and you are having to struggle to open the tags to remind yourself who each gift belongs to. Why not put a photo of the recipient on their gift, making it easier to see who the gift is for and also jazzing up the look of your present altogether.

It could also be a photo of a memory you share from that year and what better way to remind them then by putting it on the front of their gift. This year I'm using photos I took from last Christmas to jazz up family gifts - make the experience more exciting!

Lace and Decorations


Make use of old decorations or buy a cheap pack of new ones to add some sparkle and glamour to gifts this year. This present features a glitter gold bauble, making the appearance look extra special. It can also count as an additional gift.


Or how about a glitter snowflake.


These beautiful presents above were delivered to me today by my sister and I love her use of lace on top of the gold paper with the added accents of ribbon and decorations. Not only am I excited to see whats inside the present but I can also be delighted by how they look for the next few days leading up to Christmas.

Don't make gift wrapping a chore this year, give someone more than just a present, even if it is just a pair of socks!


Day 6 & 7: Christmas Shadowbox / Vintage Frame Decoration


The 12 days of Christmas has finally resumed again today after a couple of hectic days I am now back on track and ready to catch you up with two beautiful decorations to hang on your tree this Christmas.

Day 6: Christmas Shadowbox


Materials:
Spare box from one of Tim Holtz' Configuration Box / any small box
Vintage Christmas Papers - brands such as Kaisercraft/Maja/ My Mind's Eye
Maya Road Chipboard Frames
Gold Paint
Stickles Glitter in Platinum
Tissue Tape
Christmas Decorations/Ephemera
Hand Drill
Ribbon

This decoration is a wonderful way to add some dimension to your decorations on the Christmas tree by building your own christmas scene in a box. You will firstly need to cut your papers to size to fit on the outside and inside of the box and then cover any edges with any brand of tissue tape.

Before you begin to build your christmas scene be sure to drill a small hole in the top of the box to be able to add some ribbon for hanging the decoration on the tree. I would recommend adhering all the embellishments on the inside with either glossy accents or a hot glue gun and once you are happy with what you have created simply add a Maya Road frame to finish it off.

Day 7: Vintage Frame Decoration


Materials:

Ranger Inkessentials Memory Frames - see Craft Obsessions
Ranger Inkessentials Memory Frame Glass - see Craft Obsessions
Scraps of patterned paper
Small photo - on a Windows PC print your photos from Windows Live Photo Gallery using the contact sheet option.
Jewellery Embellishments

These decorations make wonderful gifts for friends or family to hang on their tree and also to capture a memory.
Simply cut a piece of scrap paper to the size of the memory glass and then begin to layer and collage different scraps of paper and the photo. Try not to add any thick layers as it may cause a problem when you place your collage inside the frame.

When you are happy with your collage, sandwich it between two pieces of memory glass and then slide into the metal memory frame. Add some ribbon and embellishments and your masterpiece is complete.

There is still time to make these wonderful decorations and don't miss Day 8 of the 12 Days of Christmas which I hope to post later this evening.


Tuesday, 17 December 2013

Day 5: Vintage Christmas Scrapbook


Materials

Tim Holtz Grungepaper
Distress Ink Pad in Tea Dye or Vintage Photo
Distress Stain in Tea Dye
Ranger Crackle Paint in Rock Candy
Variety of stamps, including Postcard stamps/Christmas sentiments
Heat gun tool
Archival Ink
 
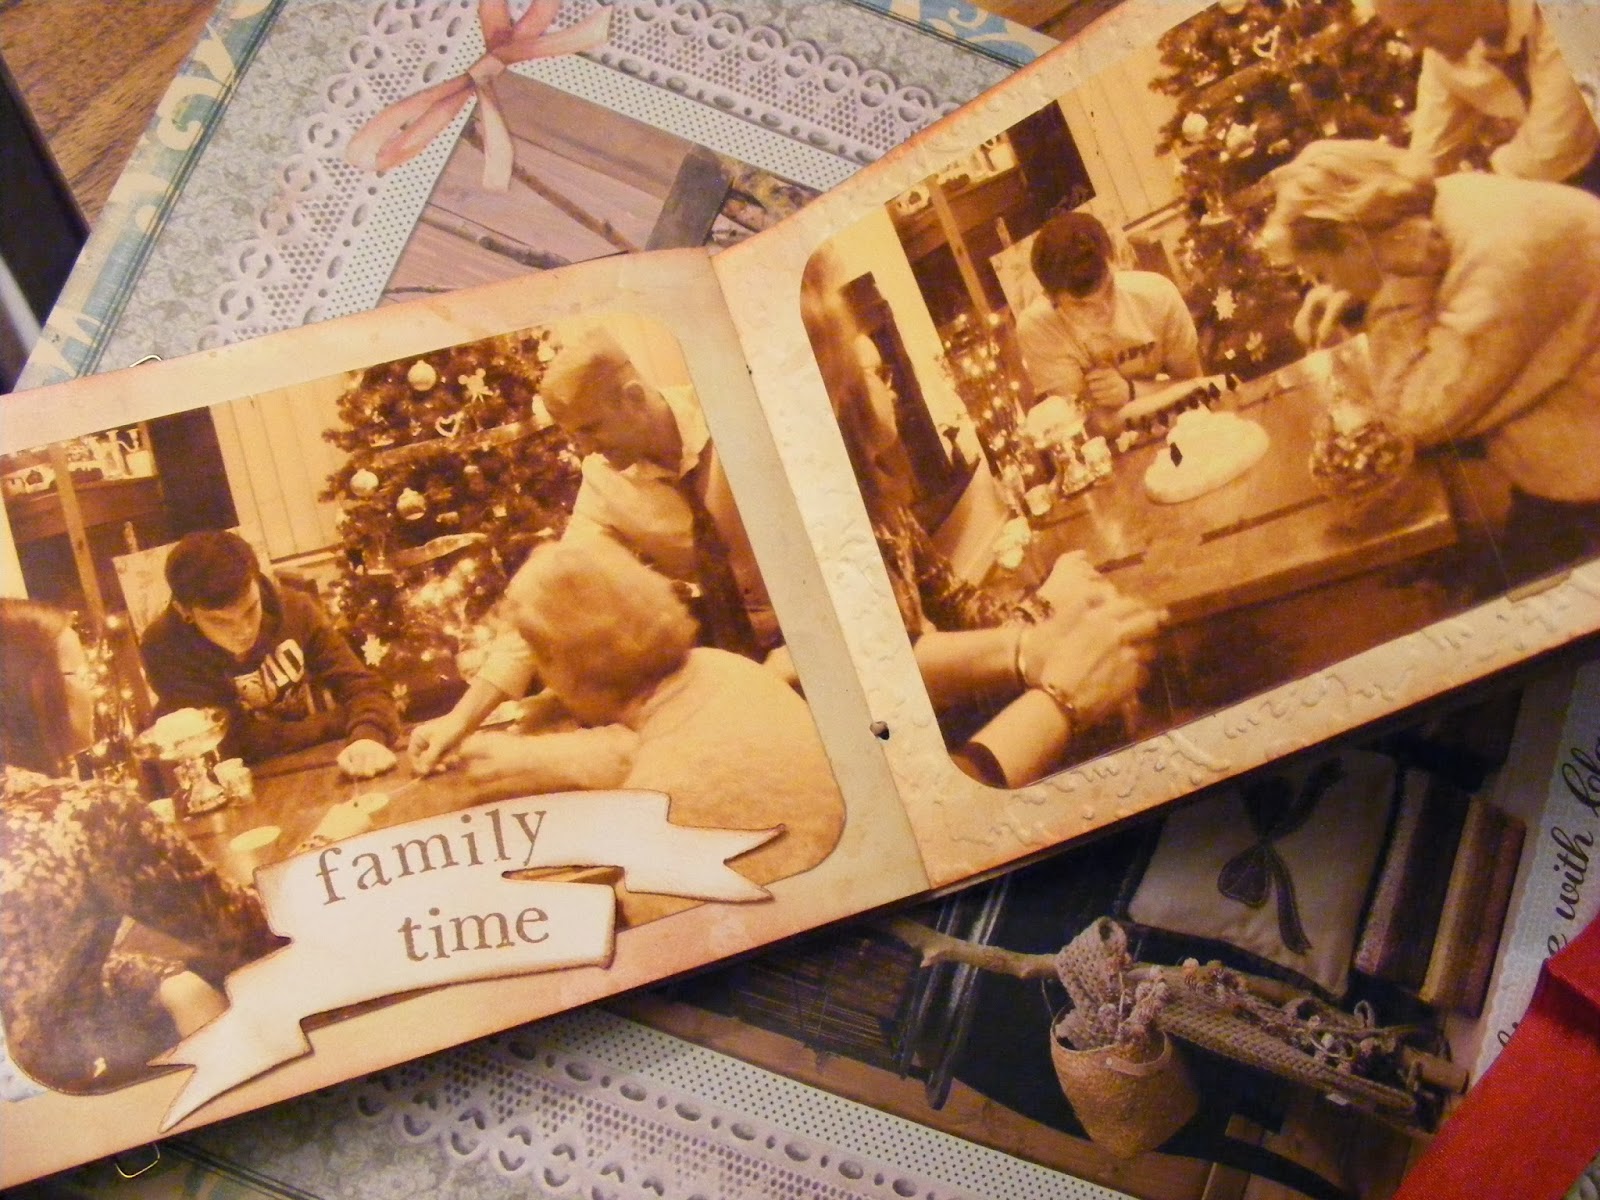
Today brings you a fantastic gift idea for someone special in your life who you want to give a present that really means something. This vintage scrapbook will allow you to add photos from the year or even photos from past Christmasses, which is exactly what I did.


I have put some basic instructions below to guide you through how to make the scrapbook - but these can be altered how you like to get the result you want. Remember most of our projects are only a guidance as using Tim Holtz products you can't really go wrong.

1. Cut some grungepaper to size.Choose a stamp design to stamp on the cover using Archival Ink.

2. Emboss the grungepaper using any patterned texture fade.

3. Cover both sides of the grungepaper with Distress stain and dry with a heat gun tool.

4. Once dry add a bit of distress ink with a blending tool to the edges of the cover and dry with a heat gun tool.

5. Cover one side of the cover with Distress Crackle paint and leave to dry for approx 1 hour.

To make the pages:

Using a distress ink pad and a heat resistant craft mat, stamp some ink on the craft mat and spray with some water. Once large droplets have formed on the mat, slide the paper through the ink until you cover most of the paper - dry with a heat gun tool.

I hope these basic instructions will be useful to get you started with your scrapbook and remember to just have some fun with it and any handmade gift will be cherished.

For more inspiration please take a look at my Vintage Scrapbook post which also provides a video demo on how you can make your photos look aged and vintage.


Monday, 16 December 2013

Day 4: Christmas in a Bottle


Materials:

Melissa Frances Miniature Bottles
Miniature Trees
White craft glitter/ Epsom Salts

Today brings you Christmas in a bottle. Well...... a miniature tree in a bottle in fact but an adorable decoration nonetheless. This is the first of many decorations we have to share with you in our 12 days of Christmas and probably the easiest.

Simply glue a miniature tree inside a bottle and fill up the bottom of the bottle with a mixture of glitter and epsom salts, enough to cover the base of the tree. Finish it off with a bit of gold thread to tie round the bottle and hang on the tree.


Sunday, 15 December 2013

Day 3: Christmas Mason Jars


Materials:

Recycled Jam Jars
Gingham Ribbon/ Christmas Ribbon
Holly sprig decoration
Tea light
Hot glue gun

Welcome to Day 3 of the 12 Days of Christmas and tonight we have Christmas mason jars. These jars are the simplest Christmas home decoration you could ever make and they are excellent for anyone doing Christmas on a budget.

Just simply wash out an old jam jar, grab a bit of gingham ribbon to wrap round the top of the jar and adhere in place with a hot glue gun. To finish it off, add a bit of holly sprig to the center and you are finished.

To add further decoration you could adhere more holly leaves and even rub on some Christmas words or phrases around the jar using craft rub ons or if you are very good at calligraphy grab a white sharpie pen and write round the jam jar yourself.

All you have to decide next is where to put them around the house........