Showing posts with label Vintage Home. Show all posts

Thursday, 6 August 2020

Curio Display Box


A bit later than planned, we have finally got around to finishing this beautiful curio box project that we can now share with you. A few weeks ago I was desperate to get in the craft room and make something. Looking around the room I caught sight of the Tim Holtz Curio Box Big XL die that we hadn't got round to even using yet. An idea popped into my head of how I wanted this project to look and I got to making straight away. This project is very simple to make and if you fancy something a bit more intricate and advanced then you definitely want to check out Pinterest for some fantastic ideas. Since this was the first time I had got in the craft room for a while I wanted to pick something fairly easy that I knew I could accomplish (well thought I could - still took an extra 2 weeks to get it all stuck together!!).

Anyway, here is a list of the products I used:-

Metal Brads
7Gypsies Paper Pad
Tim Holtz Distress Paint - Antique Linen
Tim Holtz Distress Crayon - Picket Fence


Looking at my project I'm not sure if I have got the base and top of the box the wrong way round... but I preferred to use the box this way so that I could cut a frame out more easily.

I used chipboard for the base of my box and folded along the score lines and stuck the tabs together. I then used some washi tape to reinforce the joins before adding some strips of patterned paper. I cut the top of the box out from patterned paper and then chose a framelit die that I wanted to use as a frame for the front of the box. I added some patterned paper to the inside of the box that I wanted to use behind the pocket watch.


I added a photo to the inside of the pocket watch and then added some ribbon through the loop at the top and tied a bow. I decided to leave the pocket watch as it is rather then distressing it with paint or alcohol ink. To make the pocket watch stand out in the box I layered it on top of a couple of MDF circles that I stuck together. This helped the pocket watch stay in place more securely than layering 3D foam pads.


I used a white Tim Holtz Distress crayon to colour in the letters on the metal word band and then used a wet wipe to get rid of any excess. I attached the word band to the front of the box using a couple of metal brads.

To make the box more decorative I decided to add some finials to the top and bottom of the box and coloured these using Antique Linen distress paint.

This is the perfect piece of home decor to display a favourite photo in and definitely helps to dress up a boring old bookcase!

Friday, 1 May 2020

Mini Photo Fabric Collage


This is our last scrapbooking project we will be sharing with you this week and it is a gorgeous mini photo collage using scraps of fabric and lace to decorate around your photo.

You can use any style of photo for this project but we think a vintage or sepia tinted photo always works best.

For this project you will want some scrap pieces of fabric and lace, a photo that is approximately 1.5 x 2 inches and a piece of calico that measures approximately 3 inches square. You can obviously tweak your design dimensions if you want to make something bigger.

Instructions:

1. Once you have chosen your photo you can either;
(a) if it's an original photo we recommend photocopying it onto some photo paper.
(b) if it's a digital photo then add any tinting of your choice; e.g. sepia; and then crop it to size and print on photo paper.

2. Arrange scraps of fabric around the calico square and hold in place using a collage glue stick or sewing glue pen. We used a Sewline glue pen.

3. Arrange your photo on top of the fabric scraps and then start adding scraps of lace; again holding in place with a collage glue stick.


4. When you are happy with your design you can sew in place by hand or by using a sewing machine. We sewed around the edge and then again about .75 inches in making sure to catch the photo so this is held in place.


5. Display your collage in a photo frame of your choice.


These collages could also be put on a front of a card which is what we did in our Collage Card workshop back in February. You can check out our examples from that workshop here.

We found this project very easy to make and quite relaxing. Also the outlay is very small as you are using up old scraps of fabric and lace.

We hope you've enjoyed our scrapbooking inspiration week and hopefully it has inspired you to create something with your photos.

Friday, 3 April 2020

Easter Crafting Inspiration: Teacup Scene


Today's project is for the Vintage lovers out there as this is a wonderful piece of vintage home decor that will have family and friends in awe of your creativity!

Similar to the Easter Scene Jar you can have fun with this project and keep adding different elements that you might already have in your craft stash. Make sure you have your glue gun to hand as you want to make sure you stick everything down firmly so nothing moves around and falls out!


Materials Used:

Vintage Teacup and Saucer 
Wooden Bunnies (sold out at Hobbycraft, search Google for other sellers)
Faux Blossom Garland
Mini Speckled Eggs
Scrap pieces of patterned Fabric

Additional Supplies:
Glue Gun

How to Make:

1. Decide what angle you want your teacup to sit at on your saucer and continue to work with the teacup at that angle.

2. Glue a wooden bunny to the bottom of your teacup.

3. Create a small circular shape with the blossom garland and place around the bunny. Glue in place with a glue gun. 

4. Add some moss around the bottom of your scene.

5. Add some flowers and miniature eggs to your scene, gluing them in place as you go.

6. Cut out some triangular banner shapes from your scraps of fabric.

7. Attach the banner pieces to some twine and tie a bow at each end. Attach the bunting to the top of your teacup scene.

8. Once you are happy with your finished Easter scene, glue the cup to the saucer using the glue gun.

These teacups make a great alternative gift to an Easter egg and is something that you can enjoy year after year!

Thursday, 2 April 2020

Easter Crafting Inspiration: Wooden Decorations


Decorate your home for Easter with these fantastic wooden decorations. This project is great for crafting as a family as anyone can make these, from adults to children.
Don't have any craft supplies?? No problem! ArtCuts supply all the products you need in their friendly and easy kits!

If you haven't heard of ArtCuts before, they are a fantastic family run company based in Surrey who make and sell high quality wooden craft products, gifts and decorations with a contemporary style. So not only will you find everything you need to make these Easter decorations but also a whole lot more that will have you creating for every season of the year! Check them out here..

We will list all the products we used as usual including kits and individual items if you already have plenty in your stash! 

So let's start with the bunnies....


Materials Used:


Optional Extras:

Moving onto the sheep...


Materials Used:


Optional Extras:

Easter wouldn't be complete without Easter eggs...


Materials Used:


Optional Extras:

If you have already clicked on the links through to the ArtCuts website you will see there is a wide variety of wooden shapes and embellishments you can use so get creative and set aside a day to have a play and get decorating for Easter!

Friday, 27 March 2020

Easter Crafting Inspiration: Egg Vases


Following on from our last blog post, why not save some of your plastic egg decorations to create these miniature egg vases. These vases will make wonderful decorations to your dining table this Easter and can be filled with some beautiful Spring flowers and foliage.


You can use the same LaBlanche foil wraps from our previous post to decorate these eggs and then to allow them to stand up you will want to get some of the gold egg stands which can be found on Hochanda and Lablanche websites.

Once again you can also find alternative egg stands on eBay.

Extra Supplies:

Pair of Tongs

Bowl of Boiling Water

Glue Gun

Spring flowers (grab some on your next dash to the supermarket for essentials)


How to Make:

Follow the instructions from our previous post on how to attach the foil wraps. Once you have done this you will need to saw the top of each egg off to allow you to put your flowers in. We then used a glue gun to attach the stands to the bottom of each egg. We recommend gluing the stands to the egg so that they are more stable when filled with flowers.
Add a tiny bit of moss and trim your flower stems to fit.

If you want to make some more Easter inspired vases stay tuned for our next blog post...


Sunday, 25 August 2019

REWIND SERIES: Spring Houses Workshop Recap


Back in May 2017 we hosted one of my favourite workshops called 'Spring Houses'. Unfortunately I didn't come back to the blog to post the results of this workshop and share with you the wonderful creations our guests made. I'll start by sharing some photos of the set-up for the day and then follow with some photos of what everyone made.


This project was definitely popular with our guests as we had a full house for the day.


Each kit was prepped ready for our guests to get stuck in. Before the workshop we asked our guests to send us a photo they wanted to include on their house so that we could tint it in a sepia tone and print in at the correct size.


So that our guests could follow our example on the day we set up our houses on a moving plinth that slowly turned round.

So without further ado, our guests arrived and started on their Spring Houses creations. The final results are excellent and each set of houses look fabulous!

Zoe

Joanne

Jen

Oceaniana

Diana

Becky

Linda

Pauline

Chris

I think you will agree that everyone's creations look fantastic and I love how the colours of the flowers vary between each example as out guests decided on which colours they wanted to use. This project has a great vibrancy to it and definitely gives a feeling of Spring in your home.

Thursday, 15 August 2019

REWIND SERIES: Seaside Memory Jar


Our first evening project at the Ilfracombe Craft Retreat was this adorable memory jar inspired by all things seaside.

We started the project by painting the lid of the jar using Distress Paint.

To fill the jar we used some sand (on this occasion we used some sand we had collected from a previous trip to the seaside), we sourced some MDF bucket and spade shapes and painted these using Tim Holtz Distress Paint. Lastly we added a mini glass jar filled with miniature shells.
In our example, mum added a vintage beach themed photo around the back of the inside of the jar. We left it up to our guests to decide on the photo they wanted to add to their jar.


We finished off the project by adding some twine around the neck of the jar and attaching a nautical themed charm.


This project would make an excellent gift for someone special and can easily be modified for different occasions throughout the year.....I'm thinking Christmas!

Monday, 12 August 2019

NEW WORKSHOP: Memory Village


We have a new and exciting workshop coming in September called Memory Village.

This cute project uses the Artful Dwellings Bigz L die by Tim Holtz. I managed to source this die from Ebay about 2 months ago as unfortunately this die is now retired. I knew as soon as I got it that I wanted to use it for a workshop project.


The houses are die cut from chipboard and I cut two each of each house so that they could be layered together for extra stability. This also enables you to join each house together, sandwiching the tape in-between the houses.

Each house is covered with a decoupage paper in a newsprint design and I used Tim Holtz Vintage Distress Collage Medium to adhere the paper to the chipboard. This helps tint the colour of the backing paper for a vintage effect.


Once the collage medium had dried I added some paint to two of the houses and just applied this using my finger and then rubbing off the excess paint using a dried baby wipe. Once my backgrounds had been created I then had fun adding pieces of ephemera from the Tim Holtz Ephemera Pack Snippets and Tim Holtz Layers Botanical. I also added some pieces of vintage lace to add a contrast of texture to each house.

I added some stamped imagery using a variety of floral, bird and stitching stamp designs. Finally I finished off each house using some Tim Holtz Chit Chat stickers and also Tim Holtz Clippings stickers. I also added a little splatter of paint to each house.


To join the houses together I used a brown paper tape and cut small pieces that I backed together. I then glued these in place, sandwiching them in between the two pieces of chipboard.

This project was so fun to make and is definitely a great gift idea leading up to the festive season. These home decor pieces look great on a shelf of a bookcase and are a creative way to display your favourite photos.

For more information about the workshop and how to book please click here.

Saturday, 6 April 2019

Mixed Media Plexi Glass Collage Workshop


Hi everyone, we have a new workshop to announce today which is great for those mixed media lovers!

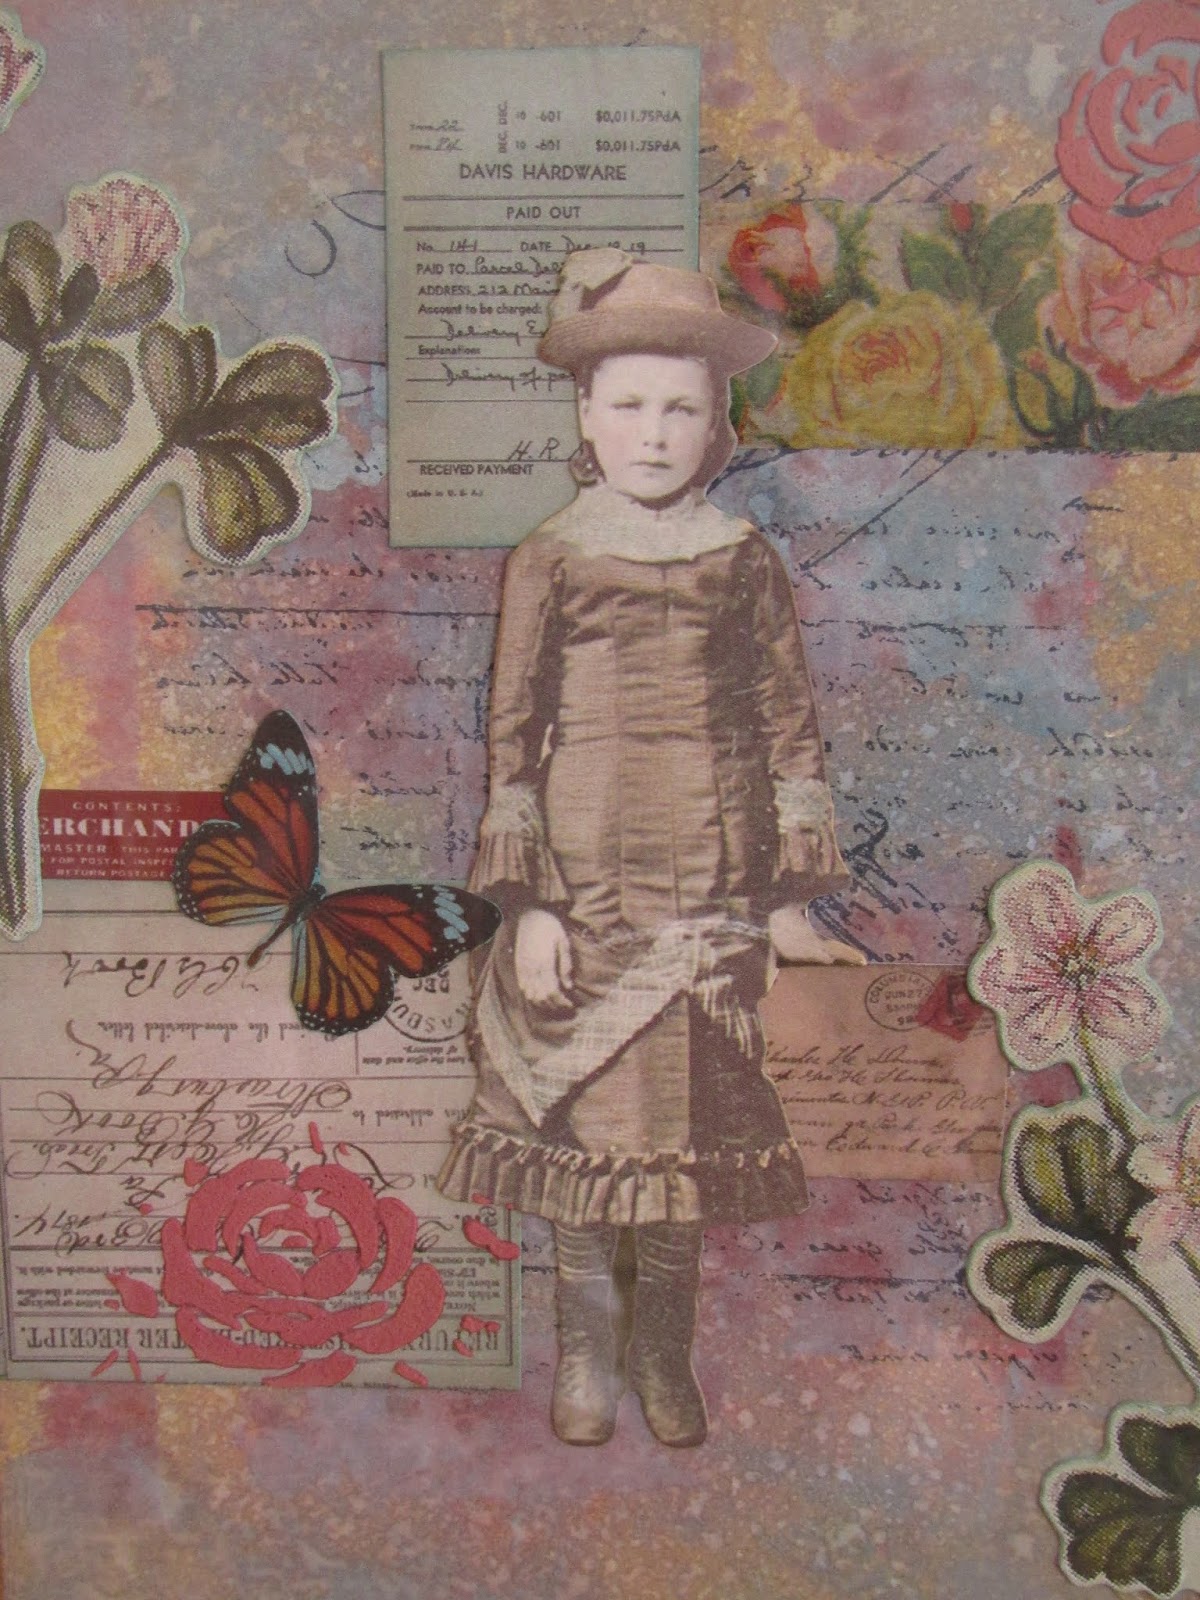
The workshop will involve making two mixed media collage pieces on 6 x 4.5 inch paper and these will be layered back to back to be displayed in a plexi glass frame. Each collage will use a variety of techniques using a range of products including Distress Oxide Re-inkers, texture paste, embossing powders and more! Each collage can be personalised with a photo or simply add in a Tim Holtz paper doll ephemera piece to add some character and fun.

More examples of some of the other collage pieces we have created can be seen below:-


As you can see from these examples, there is so much possibility to create a different design just by mixing up the colours or adding different ephemera pieces.
Once finished you will be able to display your creation at home and because the pieces are layered back to back you can change your choice of design on show as and when you feel like it!

For more information about booking a space please visit our Workshops page.

Saturday, 18 February 2017

organise me! workshop recap


finally the long awaited workshop was on it's way today. our crafty friends had waited long enough and they definitely weren't disappointed. we pulled out all the stops as usual with a fabulous project, great food and of course a bit of february sunshine!


the long crafting table was dusted off and all ready to go, all they needed to do was pick a pack from the many different background papers to choose from. *note to self: don't make them choose between papers when all the papers are lovely!

our crafty day was made extra special by one cutie attendee, Tigerlily...who was as good as gold all day long.


as usual the results were fantastic and it wouldn't be a workshop recap without posting a picture of everyone's final creations, even though everyone had the same kits (except background paper) it always fascinates us how everyone puts their own style on it...

Chris

Lauren

Mags

Pauline

Diana

Linda

Oceanian

Zoe - using her calendar already!

Maria

Jen - marking out the most important day in February!

it's days like today that reassure us to keep doing what we are doing. we love seeing everyone find that creativeness inside of them and making something that they can display and use in their home.

thanks again to everyone who attended and watch this space for the next workshop...