Saturday, 6 April 2019

Mixed Media Plexi Glass Collage Workshop


Hi everyone, we have a new workshop to announce today which is great for those mixed media lovers!

The workshop will involve making two mixed media collage pieces on 6 x 4.5 inch paper and these will be layered back to back to be displayed in a plexi glass frame. Each collage will use a variety of techniques using a range of products including Distress Oxide Re-inkers, texture paste, embossing powders and more! Each collage can be personalised with a photo or simply add in a Tim Holtz paper doll ephemera piece to add some character and fun.

More examples of some of the other collage pieces we have created can be seen below:-
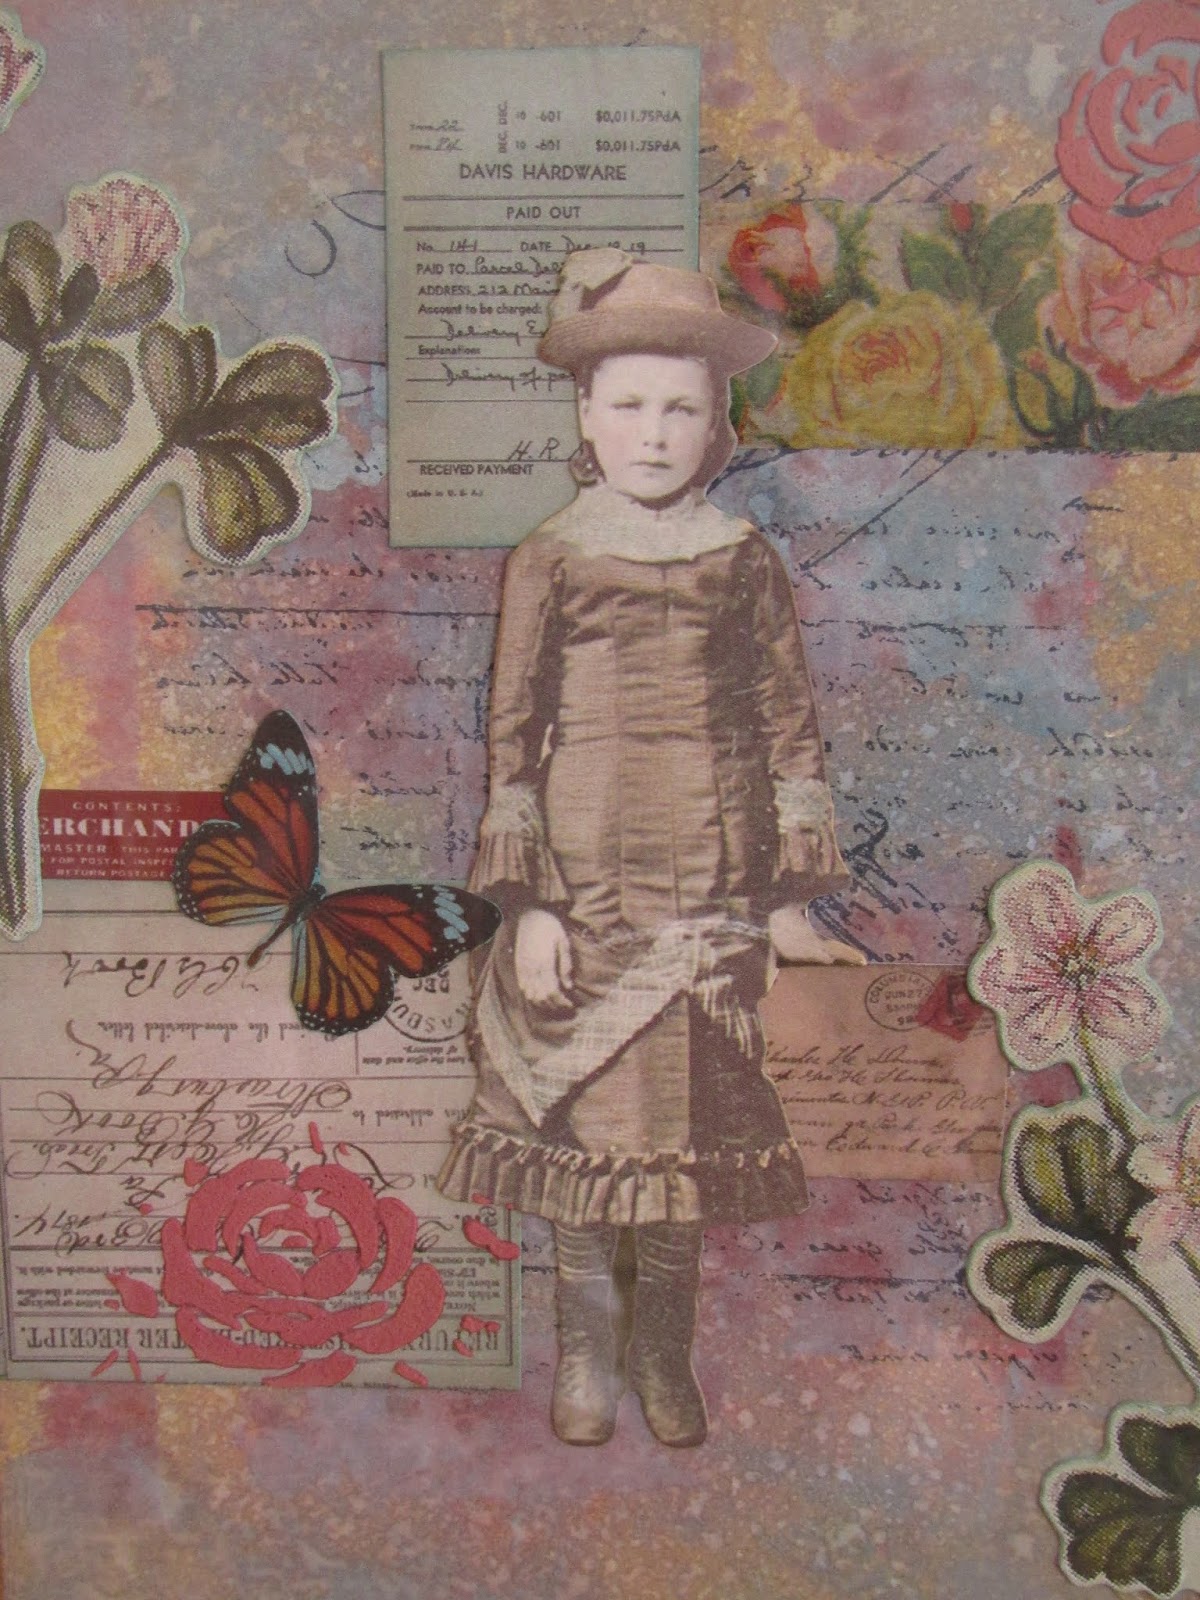


As you can see from these examples, there is so much possibility to create a different design just by mixing up the colours or adding different ephemera pieces.
Once finished you will be able to display your creation at home and because the pieces are layered back to back you can change your choice of design on show as and when you feel like it!

For more information about booking a space please visit our Workshops page.

Wednesday, 13 February 2019

New Workshop: ATC Coin Book


Hi bloggers, long time no see...........

Well we are kick starting 2019 with a brand new workshop and this one is definitely a bit different..??

For this workshop project we have designed an ATC Coin book which is a concept that has been gaining in popularity over recent months. An ATC coin is just like a normal Artist Trading Card however it is shaped like a coin. For each coin you will be making your own works of art that can be stored in a beautifully made coin book designed to display your works of art and keep them safe and secure.

As you will see in the photos of the project we have included our own photographs on the coins to make a miniature photo album. This can be done by scaling your photos down so that they will fit on the 2.5 inch coin and in most cases have been printed in black and white so that they stand out from the artistic background.

Check out the photos below for some close up shots of the book and the coins:-


The designs of the coins have been created using scraps of paper and pieces of artwork that have been saved from previous projects. We have layered a few extra embellishments and stamped inspirational words and quotes.


The pockets inside the book have been created using Pink Paislee Auburn Lane papers and have an acetate window to help hold the coin in place in the pocket.


For further details about the workshop and how to book your place click here.


Wednesday, 8 August 2018

Design your own Snap Card Game


Trying to think of an original and unique present for the gamer in your life?! Look no further than this fun and personalised game of Snap.

Now when I say gamer - I mean they must be interested in your old fashioned board games and card games otherwise this may not go down so well!!
 For my boyfriend's recent birthday I decided to design him a game of Snap with pictures of us. Not only is the game fun to play but it also reminds us of different vacations and events we have been to during our time together.

Each card features a photo plus a small caption and the date it was taken. Think of all those fun selfies and holiday snaps you have taken on your phone. Why not turn them into something fun and interactive. This would also make a great present idea for children with fun family holiday photos or pictures of them growing up.

In total I designed 25 cards and then printed another set to make it into a game of Snap. I used a combination of 5 different background designs rather than making all the backgrounds different which helps make the game a little bit more tricky if several cards have the same background!


To make the cards I used a software program called Craft Artist and used elements from my digital kits to create each card. If you have any design software you can easily create these cards and just search online for fun digital-kits you can download. American Crafts have some fantastic kits.

I printed the cards on photo paper to help give them a glossy finish and the card is just the right thickness so that it's sturdy enough to use in a card game.

To cut the cards out I used the 1788e Tonic Studios Sweet Nothings: An Artists Gift die set which not only provided a die to cut out my cards but also a box to store them in.


I designed a cover for the box to give the game a title and used images of some of the cards I had designed as part of the game to provide a brief preview of what was inside. The box was able to accommodate 50 cards easily and it made for a very good game!

A great personal gift to make year after year and makes looking at photos much more enjoyable!

Friday, 6 July 2018

Resizing Photos for the Journal Album Workshop


So this post is mainly for those of you attending our next craft workshop - 'Journal Album'. On many occasions I've been asked about how to resize photos quickly and easily so you can print them out at home. We like to use photos in quite a lot of our projects so this post will definitely come in handy. 

I have created two videos to show you how to resize and crop photos in Mac Pages and also Microsoft Word.

For those of you coming on the class please watch both videos as I do cover some handy tips about portrait and landscape photos in both so might be worth a watch even if you don't have one or the other.

I apologise for the creaky chair in the background and the slight wobble to the camera every now and then, this video lark is new to me :)

1. Resizing and cropping photos in Mac Pages


2. Resizing and cropping photos in Microsoft Word


I hope you have found these videos useful and can come to the workshop prepared with your photos.

Any questions please do not hesitate to email me :)

Wednesday, 4 July 2018

To the One I Love Birthday Card


My crafting mojo is back and I have definitely been working on a variety of projects over the past few weeks. There is no better way to get me going then when a birthday rolls around, especially when it's the closest person to you!

As a crafter I always feel shameful when I run out of time and have to give a shop bought card rather than making something unique and personal. And when cards are so cheap these days (thanks to the likes of one particular card retailer) it can be so tempting to pick one out. I was very close last week when on the hunt for a card for my boyfriends birthday and was browsing the boyfriend section when a sudden shot of inspiration hit me.

After recently using the Tim Holtz Pocket Frame die set in my Journal Album workshop (spaces still available) I decided to use that as the focus of my card. 


I edited the photo using the "Bling black and white" setting on my LG Pocket Photo app which helped transform an ordinary photo into something more special.

The papers I used were from the First Edition Beyond the Shore paper pad which I then decorated with some punch out stars.

The Happy Birthday sentiment added a beautiful hand script element to the card and is from the Hero Arts Birthday Messages stamp set. I used my beloved Dymo Junior label maker to create the "To the One I" tag line. The "Love" part of the sentiment has been created using a Sizzix die (I apologise I can't remember the name of the set but I think it is a retired die set).

I have recently rediscovered a love for making cards again so I hope to share a few more card designs in the near future. I hope this card provides you with a little inspiration and I think this design is a fantastic way to share photos with loved ones and make your cards more personal.

Thursday, 21 June 2018

New Workshop: Journal Album


Hello bloggers........

So for those of you who attend our workshops regularly, this post may come as a bit of a surprise?! Workshops??? I thought you said you were taking a break in 2018?

Well... that was very much the plan until a change in circumstances recently which has suddenly left me with a lot of time on my hands. So I couldn't think of anything better than designing a new workshop for you to enjoy.

This project has been a long time coming as it uses the popular Eileen Hull Journal die from Sizzix. After a lot of deliberation I decided to put one of these dies to the test to see what all the fuss was about and now I can see why, this die does all the work for you! Literally die cut two sides from chipboard and you have an album cover ready to decorate and assemble.

My next decision was what I actually wanted to put in it. I have dabbled in journaling a few times but find I'm not one for dedicating my time to it to fill it with the wonders of my day etc. Then I thought.... what about a photo album? 

Perfect :)
and with a 5 month old niece in tow I had the perfect subject for my project!

The journal allows for three booklets to be inserted inside and splitting the year into three meant that each booklet could represent four months of the year (Jan - April, May -August and September - December).

So without further ado I'll stop my blabbering and let you view the project.....


Now as you can see I still need to fill in some of the tabs and dates for the pictures I've included but it gives you a good idea about the project you will be making. The project also features the Stitched Slots and Pocket Frame die sets from Tim Holtz which are great for adding photos and ephemera to.

So if these pictures have got you excited then head over to our Workshops page for further details about the day and how you can book a space.

Hope to see you there!

Sunday, 27 August 2017

Vintage Canvas Collage Workshop


It's been a long time coming but our next workshop has finally arrived. This burlap panel makes a wonderful home decor to display photos and memories. Collate photos and ephemera from a day or a holiday and display it on one canvas to capture those memories in one place.

There are two configurations to choose from, which is either one full canvas that measures 6" x 8" or choose to make two mini canvases that measure 4" x 6" each. The two mini canvases can either be displayed together or split them up across a shelf or display unit. Furthermore you could create two separate projects with the mini canvases - ideal opportunities to make gifts for friends or loved ones!

Configuration 1: Full Canvas (6" X 8")


Configuration 2: Two Mini Canvases (4" x 6" each)


See our Workshops page for more information about the project and booking information.

Look forward to seeing you soon!