Sunday, 4 August 2019

Let's Recap.....


Hi bloggers......

so after looking at my blog quite closely for the past few months I found that over the past 3 years (2016 - 2019) I have a total of 17 blog posts......what can I say....life took over and unfortunately the blog got pushed to the whey side. But hopefully this is the beginning of a new chapter of more frequent posts, not just about crafting but what goes into our Vintage Follie life.

Recently I have been inspired by the vlogs of a nearby craft company called CS Get Crafty. They are also a mother and daughter team and after watching the ins and outs of their lives, including craft makes, workshops, craft retreats, trips and days out I decided that I wanted to be more inclusive from now on. If you haven't checked out CS Get Crafty, make sure you stop by their website and check out their workshops which are based in Brighton.

Even though our blog posts have been few and far between we have still been organising some craft workshops, some of which I have posted about but I often failed to recap on the day or missed it out completely.

So over the next few weeks I am launching a REWIND series to recap on craft makes, retreats and jumble sales that I failed to write about at the time. Thank goodness I still took photos with the intentions of coming back to the blog at a later date. So get ready for an inspirational couple of weeks (or month - there is a lot to share!) to see what craftiness we have been up to since 2016!

Before I finish up this post I thought I would give you a brief update on some life changes that have also occurred......

So since 2016 I have met the love of my life...Conor..who also proposed to me in June this year and we are now happily engaged!! (another wedding series on the blog may occur!)


I've travelled to some beautiful and vibrant cities including Rome and New York. 


I've changed jobs twice in one year - have I found my dream job? - not by any means....but it allows me to be creative with installing window displays and helping out with visual merchandising. Plus it reminds me of my favourite UK destination everyday....Cornwall!
who knows...another career change could be on the cards in the future. 


I have a favourite little girl in my life after becoming an auntie at the end of 2017, who has also featured in a few craft makes over the past year.


In March 2018 I organised my first Craft Jumble Sale in Crawley. After me and mum had a mass clear out of the craft room I was looking for somewhere we could successfully sell our second hand craft items but I couldn't find anything that was frequent enough in the area. So after asking a few other crafters what they thought of the idea of a Craft Jumble Sale I found myself organising one in our local community hall. It was a huge success and after having organised two more sales since then, I think we can say it's been a mighty success. For further information about our Craft Jumble Sales head over to the Craft Jumble Sale Crawley Facebook page for details of our next sale.


The biggest change came last year when I moved out from my childhood home and bought my first house - this has kept me unbelievably busy since the end of last year. Also spending less time around mum has also inhibited both our desires to craft so we try to make the most of days we can spend together in the craft room.


Finally October last year saw me turn the milestone of 30 years old - so cheers to the next decade of my life with many exciting times ahead.

So there's my life update in a nut shell and the reasoning for us being a bit AWOL over the past 3 years but I'm hoping from this post on we can get back to providing more inspiration, crafty goodness and more regular updates on our Vintage Follie life.

Monday, 22 July 2019

Alcohol Ink Brooch Workshop


A day spent crafting with friends has aways got to be a great day and Sunday was no exception! 
Our ladies came to the workshop prepped ready for a day full of creating wonderful backgrounds and brooches.

So how did they get started?........


For this project we were using Tim Holtz Alcohol Inks and Yupo paper. Everyone experimented with different colour combinations of alcohol inks to create vivid and beautiful backgrounds. We supplied multiple sheets of Yupo so that they could create a choice of backgrounds to use later on their projects.

Once they had finished this initial stage we then showed them some techniques they could use with the Alcohol Lift Ink using stamps and stencils. This technique allowed them to lift areas of colour using stamped designs or patterns using the stencils.


The image above shows the effect of the Alcohol Lift Ink using a butterfly stamp. As you can see the ink has lifted the colour from the coloured background.

After playing around with these techniques, everyone had a great variety of backgrounds to choose from in the next stage of the day..... assembling their brooches.


They started by drawing around these MDF heart shapes which will form the base of their brooch. From there they could pick and choose from a multitude of ephemera and lace and also add tiny photos to their brooches too.


If they didn't want to wear what they had made, they also had the option to turn these hearts into hanging decorations using the pre-drilled holes in the hearts to thread through some ribbon.


Once they were happy with what they had designed the final stage was to add Inkssentials Glossy Accents to the surface which will set clear and glossy.


The final part of the workshop was creating a background for a photo frame using the alcohol ink backgrounds from before and adding some ephemera and washi tape to help frame the picture.


All in all a wonderful day and we look forward to hosting another workshop soon!

Tuesday, 25 June 2019

NEW WORKSHOP: Make yourself a beautiful brooch


A new workshop has finally arrived and this time the end result can be worn!

In our new workshop you will be making 2-3 mixed media brooches and one mixed media photo background that can be layered in a 6x4 inch photo frame.

To create these pieces we started off by having fun with some Tim Holtz alcohol inks on Yupo paper to make some wonderful designs. We picked colours that we knew we would be happy to wear as eventually we will be turning these creations into a background for a brooch. We experimented with the Alcohol Lift Ink to create some great effects on our backgrounds.

Once we were happy with the way our backgrounds were looking we traced around a heart shape MDF piece that is going to be the shape and backing of our brooch. Once the background had been cut to the right size we delved into our embellishment drawers and picked out some wonderful die cut  floral pieces, lace cut offs, gems and more!

We finally stuck everything in place using glossy accents and once it had all adhered the final stage was to cover the entire brooch with an even layer of glossy accents and then lay to dry.

End result - a beautiful handmade brooch!

Check out some close ups of our brooches below and also a closer look at the alcohol ink photo background we made for a frame.


To find out more details about this workshop, please click here.

Saturday, 6 April 2019

Mixed Media Plexi Glass Collage Workshop


Hi everyone, we have a new workshop to announce today which is great for those mixed media lovers!

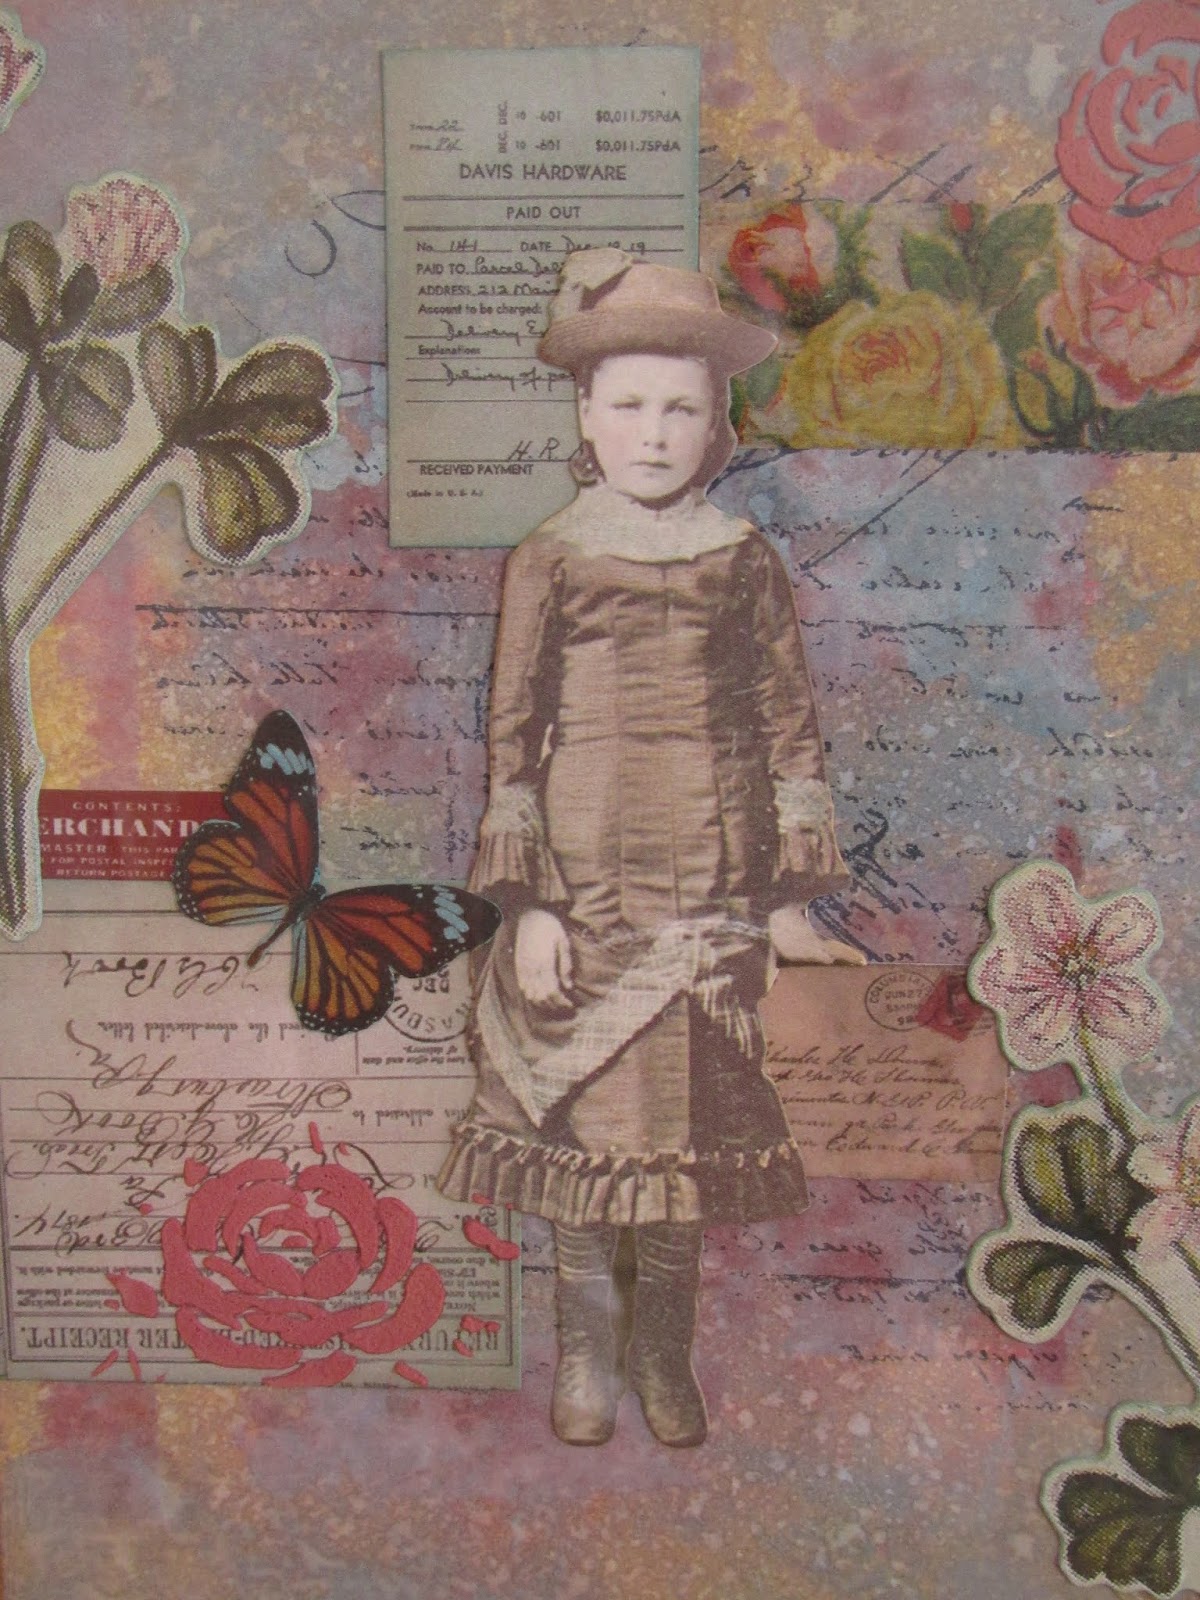
The workshop will involve making two mixed media collage pieces on 6 x 4.5 inch paper and these will be layered back to back to be displayed in a plexi glass frame. Each collage will use a variety of techniques using a range of products including Distress Oxide Re-inkers, texture paste, embossing powders and more! Each collage can be personalised with a photo or simply add in a Tim Holtz paper doll ephemera piece to add some character and fun.

More examples of some of the other collage pieces we have created can be seen below:-


As you can see from these examples, there is so much possibility to create a different design just by mixing up the colours or adding different ephemera pieces.
Once finished you will be able to display your creation at home and because the pieces are layered back to back you can change your choice of design on show as and when you feel like it!

For more information about booking a space please visit our Workshops page.

Wednesday, 13 February 2019

New Workshop: ATC Coin Book


Hi bloggers, long time no see...........

Well we are kick starting 2019 with a brand new workshop and this one is definitely a bit different..??

For this workshop project we have designed an ATC Coin book which is a concept that has been gaining in popularity over recent months. An ATC coin is just like a normal Artist Trading Card however it is shaped like a coin. For each coin you will be making your own works of art that can be stored in a beautifully made coin book designed to display your works of art and keep them safe and secure.

As you will see in the photos of the project we have included our own photographs on the coins to make a miniature photo album. This can be done by scaling your photos down so that they will fit on the 2.5 inch coin and in most cases have been printed in black and white so that they stand out from the artistic background.

Check out the photos below for some close up shots of the book and the coins:-


The designs of the coins have been created using scraps of paper and pieces of artwork that have been saved from previous projects. We have layered a few extra embellishments and stamped inspirational words and quotes.


The pockets inside the book have been created using Pink Paislee Auburn Lane papers and have an acetate window to help hold the coin in place in the pocket.


For further details about the workshop and how to book your place click here.


Wednesday, 8 August 2018

Design your own Snap Card Game


Trying to think of an original and unique present for the gamer in your life?! Look no further than this fun and personalised game of Snap.

Now when I say gamer - I mean they must be interested in your old fashioned board games and card games otherwise this may not go down so well!!
 For my boyfriend's recent birthday I decided to design him a game of Snap with pictures of us. Not only is the game fun to play but it also reminds us of different vacations and events we have been to during our time together.

Each card features a photo plus a small caption and the date it was taken. Think of all those fun selfies and holiday snaps you have taken on your phone. Why not turn them into something fun and interactive. This would also make a great present idea for children with fun family holiday photos or pictures of them growing up.

In total I designed 25 cards and then printed another set to make it into a game of Snap. I used a combination of 5 different background designs rather than making all the backgrounds different which helps make the game a little bit more tricky if several cards have the same background!


To make the cards I used a software program called Craft Artist and used elements from my digital kits to create each card. If you have any design software you can easily create these cards and just search online for fun digital-kits you can download. American Crafts have some fantastic kits.

I printed the cards on photo paper to help give them a glossy finish and the card is just the right thickness so that it's sturdy enough to use in a card game.

To cut the cards out I used the 1788e Tonic Studios Sweet Nothings: An Artists Gift die set which not only provided a die to cut out my cards but also a box to store them in.


I designed a cover for the box to give the game a title and used images of some of the cards I had designed as part of the game to provide a brief preview of what was inside. The box was able to accommodate 50 cards easily and it made for a very good game!

A great personal gift to make year after year and makes looking at photos much more enjoyable!

Friday, 6 July 2018

Resizing Photos for the Journal Album Workshop


So this post is mainly for those of you attending our next craft workshop - 'Journal Album'. On many occasions I've been asked about how to resize photos quickly and easily so you can print them out at home. We like to use photos in quite a lot of our projects so this post will definitely come in handy. 

I have created two videos to show you how to resize and crop photos in Mac Pages and also Microsoft Word.

For those of you coming on the class please watch both videos as I do cover some handy tips about portrait and landscape photos in both so might be worth a watch even if you don't have one or the other.

I apologise for the creaky chair in the background and the slight wobble to the camera every now and then, this video lark is new to me :)

1. Resizing and cropping photos in Mac Pages


2. Resizing and cropping photos in Microsoft Word


I hope you have found these videos useful and can come to the workshop prepared with your photos.

Any questions please do not hesitate to email me :)