

Materials
Tim Holtz Grungepaper
Distress Ink Pad in Tea Dye or Vintage Photo
Distress Stain in Tea Dye
Ranger Crackle Paint in Rock Candy
Variety of stamps, including Postcard stamps/Christmas sentiments
Heat gun tool
Archival Ink
Today brings you a fantastic gift idea for someone special in your life who you want to give a present that really means something. This vintage scrapbook will allow you to add photos from the year or even photos from past Christmasses, which is exactly what I did.

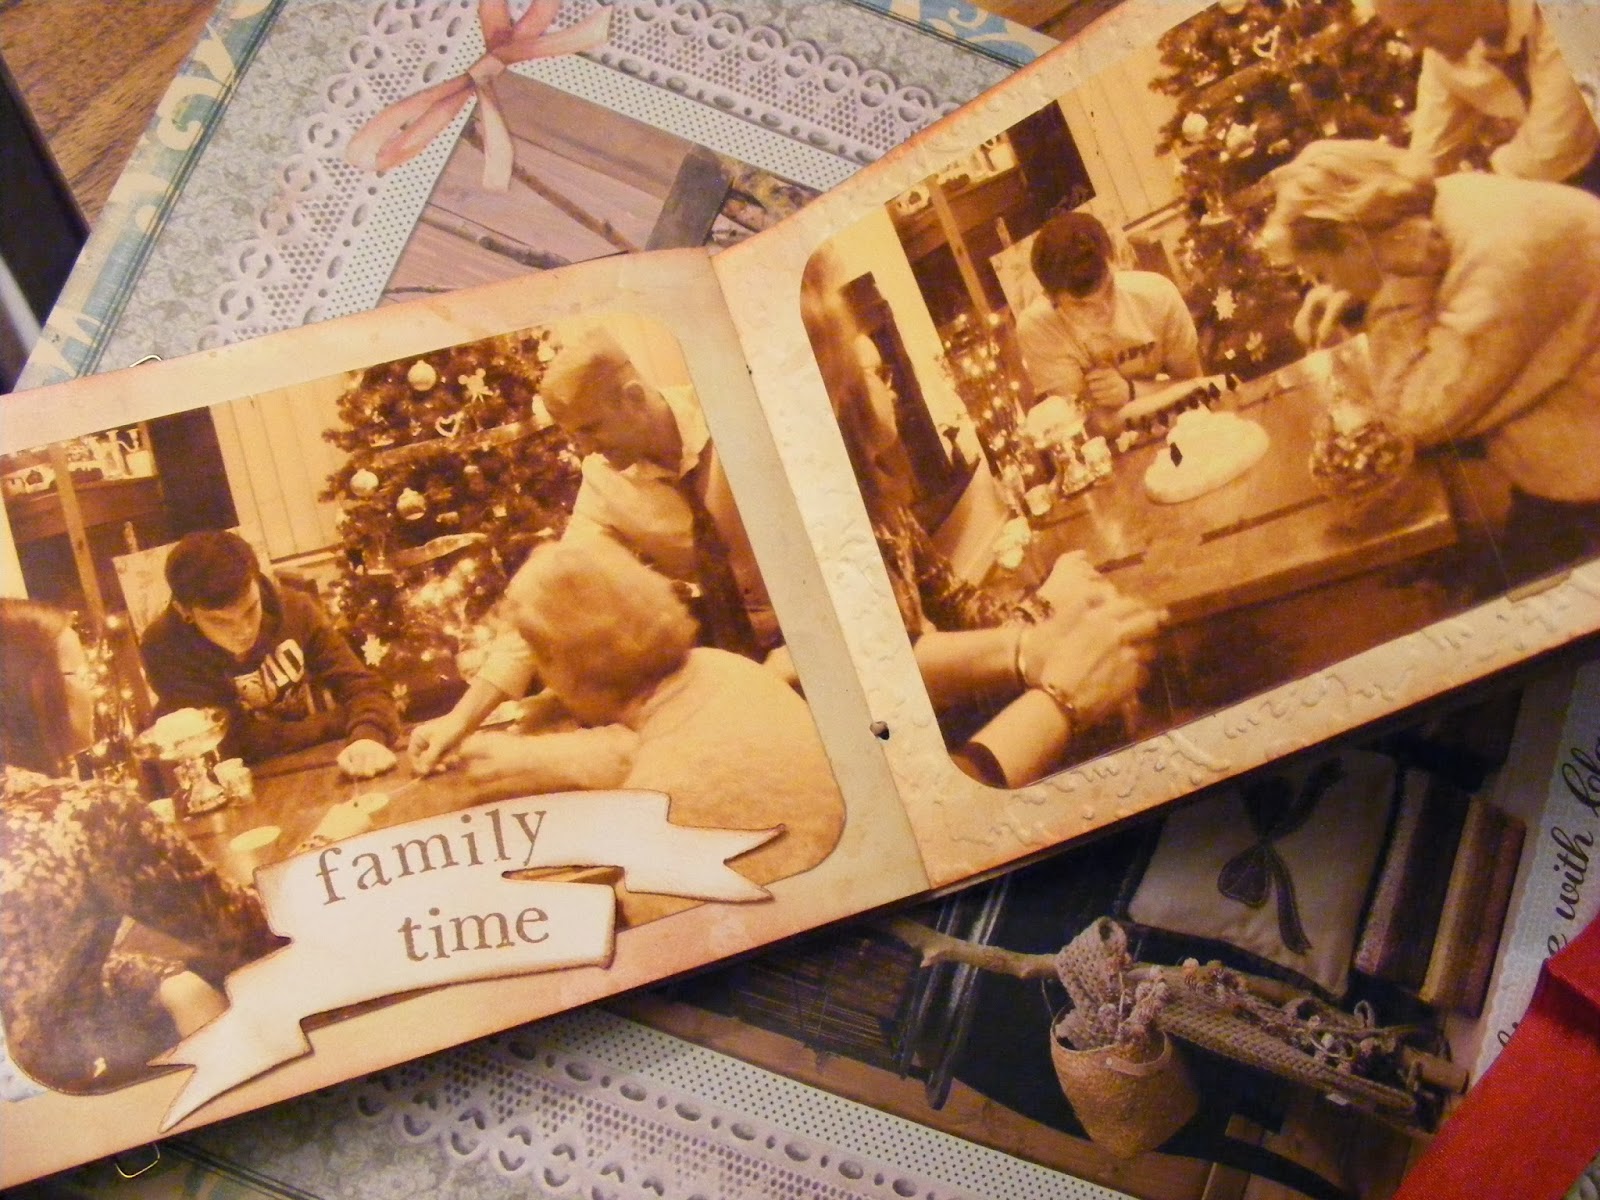
I have put some basic instructions below to guide you through how to make the scrapbook - but these can be altered how you like to get the result you want. Remember most of our projects are only a guidance as using Tim Holtz products you can't really go wrong.
1. Cut some grungepaper to size.Choose a stamp design to stamp on the cover using Archival Ink.
2. Emboss the grungepaper using any patterned texture fade.
3. Cover both sides of the grungepaper with Distress stain and dry with a heat gun tool.
4. Once dry add a bit of distress ink with a blending tool to the edges of the cover and dry with a heat gun tool.
5. Cover one side of the cover with Distress Crackle paint and leave to dry for approx 1 hour.
To make the pages:
Using a distress ink pad and a heat resistant craft mat, stamp some ink on the craft mat and spray with some water. Once large droplets have formed on the mat, slide the paper through the ink until you cover most of the paper - dry with a heat gun tool.
I hope these basic instructions will be useful to get you started with your scrapbook and remember to just have some fun with it and any handmade gift will be cherished.
For more inspiration please take a look at my Vintage Scrapbook post which also provides a video demo on how you can make your photos look aged and vintage.
No comments :
Post a Comment