We can't believe it has been 9 years since we first started writing our Vintage Follie blog and we wish that we could have celebrated in Cornwall where it all began!
Unfortunately that can not be the case but we thought we would write a blog post instead which picks out our favourite posts from each of these 9 years (even including the years with minimal posts!).
This has proved to be a bit of a challenge as in some years there have been so many good posts, events and workshops that it has been so difficult to decide. We will provide a link to each post that we have chosen so that you can take a look back with us at some of our highlights over the past 9 years.
So let's start with the year it all began.... 2011!

King of Craft
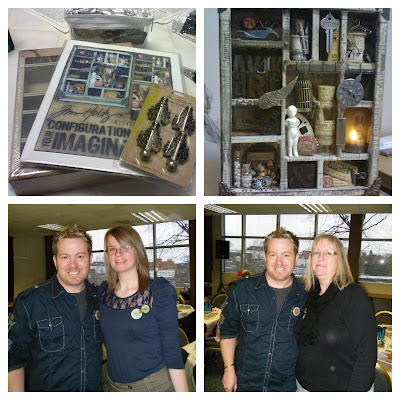
In July 2011 we posted about a workshop that we attended with Tim Holtz earlier that year in February. To this date it is still probably one of the best days of my life and we had a fantastic experience creating with the one and only Tim Holtz! This workshop was a very important influence for us as we not only took away a great project but we also learnt so much from Tim about how to teach a workshop which inspired us to start teaching in the first place!
2012
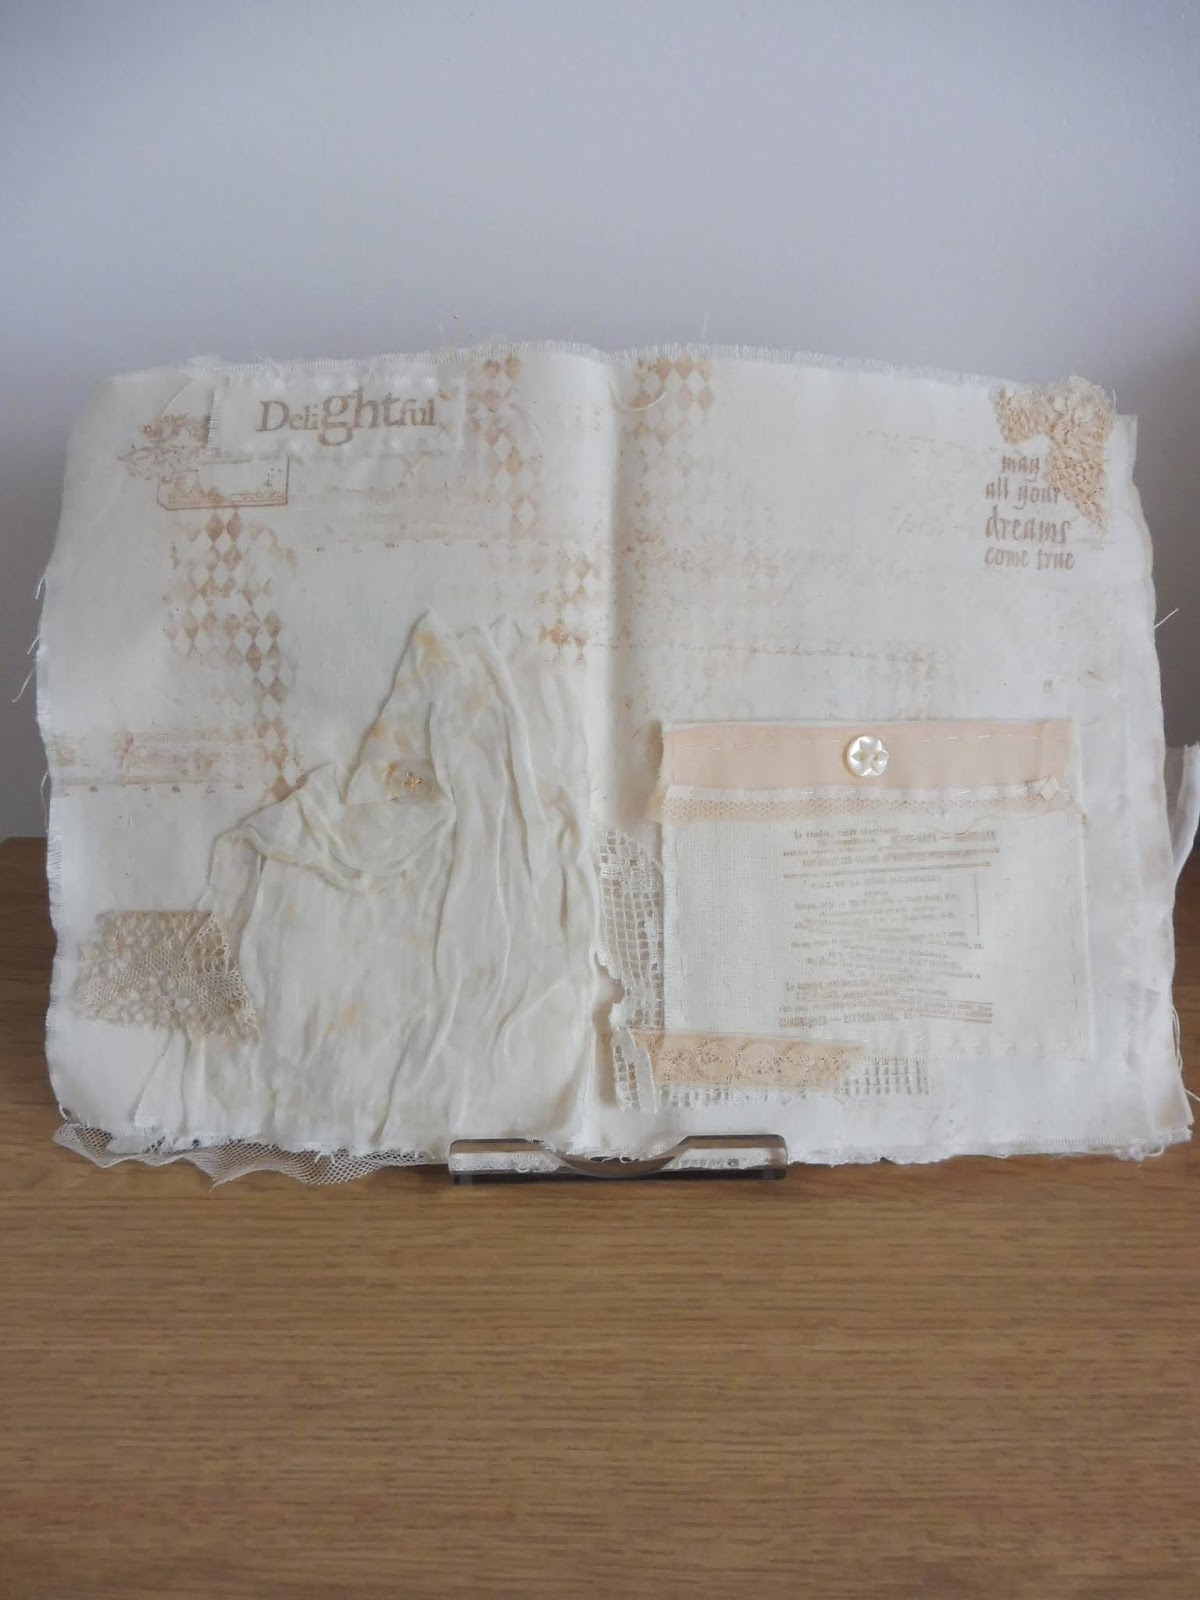
 Dress Up your Lampshade: A Story of Our Day
This workshop was definitely one of our favourites from 2012. It was such a beautiful day in July when we hosted this workshop and everyone who attended made some fantastic lampshades! This workshop has been a popular choice over the years as we have hosted 2 other lampshade workshops since this first one.
2013

Countdown to Christmas has begun!
This Christmas workshop from 2013 was fantastic fun and is still one of my all time favourite Christmas projects. It still comes out every year in the Countdown to Christmas and I love looking at all the little advent calendar pieces we created. We took our largest number of attendees at this workshop with a total of 14 taking part so it was a bit of a squeeze when getting round to help everybody!
2014

Inspire..Create..at Scrapbook Magic
In July 2011 we posted about a workshop that we attended with Tim Holtz earlier that year in February. To this date it is still probably one of the best days of my life and we had a fantastic experience creating with the one and only Tim Holtz! This workshop was a very important influence for us as we not only took away a great project but we also learnt so much from Tim about how to teach a workshop which inspired us to start teaching in the first place!
2012

This workshop was definitely one of our favourites from 2012. It was such a beautiful day in July when we hosted this workshop and everyone who attended made some fantastic lampshades! This workshop has been a popular choice over the years as we have hosted 2 other lampshade workshops since this first one.
2013

Countdown to Christmas has begun!
This Christmas workshop from 2013 was fantastic fun and is still one of my all time favourite Christmas projects. It still comes out every year in the Countdown to Christmas and I love looking at all the little advent calendar pieces we created. We took our largest number of attendees at this workshop with a total of 14 taking part so it was a bit of a squeeze when getting round to help everybody!
2014

In May 2014 we returned to Scrapbook Magic in Mullion, whilst we were on our trip to Cornwall, so that we could attend one of Margaret's workshops. We first discovered Margaret in 2013 when we came across her treasure trove of a craft shop and we knew we had to make time to go back and craft. We made a fantastic Zig Zag album inspired by the wonderful Clare Charvill of Graphic 45 who often taught some classes at Scrapbook Magic. Unfortunately Margaret has now closed her shop but at least we can look back on the fun we had back in 2014.
2015

By far 2015 has got to be our favourite year on the blog so far. We had so many fantastic experiences, workshops, events and more happen that year that the only way we could pick a favourite from 2015 was to cheat and pick 'Our Year in Review' post because it takes the best of everything that happened that year and summarises it in one lovely blog post. Enjoy!
2016

In 2016 we had the opportunity to meet Tim Holtz for a second time and also craft alongside him at one of his workshops. This was yet again another incredible experience and we both enjoyed the project so much, it inspired us to recreate the project at a Craft Retreat later that year! The workshop took place at the Stitches Trade Show at the NEC and since me and mum were both working for Crafts U Love at the time we were able to have a look around and see some of the fantastic new products that were being released that year.
2017

So 2017 was not a good year for very interesting and exciting posts and even though we did a few other workshops that year that were fun we didn't actually blog about them much at the time! Since this is about our favourite blog posts of each year we decided to go for the 'organise me! workshop recap' which summarises our first workshop of 2017 and features some of our attendees notice boards that they made.
2018

This has got to be one of the best gifts I have ever made and I had so much fun creating it! In 2018 me and Conor had been together for 2 years and I wanted to use my design and craft skills to make a unique birthday present for him. Knowing that he likes games, I decided to create a pack of Snap cards which featured us at the centre of the game. Not only is it fun to play but it's also a great reminder of some of the memories we have made together. It still comes out from time to time so it must have been well received!
2019

In 2019 I decided to focus more time on the blog again and launched a REWIND SERIES to recap on everything I had failed to blog about since 2016. This post is about our second Craft Retreat and these type of events are always my favourite. We both love spending time with our crafters and enjoy seeing everybody make something wonderful and have a good time making it! Our REWIND SERIES consists of 20 blog posts (so much I missed out on!) to read them all click here.
We can't believe it's been 9 years since we started writing about our Vintage Follie life and we really have enjoyed sharing the projects we make, the workshops we host, craft retreats, road trips and events we blog about. Between 2016 and 2018 we didn't know if we wanted to continue writing the blog and take the time to share our journey. However every time we sit down and look through our blog posts over the years, we can't help but get excited about what blog posts we will be writing about next!